|
<< Click to Display Table of Contents >> Employee Data |
  
|
|
<< Click to Display Table of Contents >> Employee Data |
  
|
This option is accessed by selecting the Employee Data tab on the left of the window and is used to create and maintain the data required by the application for your employees.
Employee Data - Introduction Video |
 Employee Data |
The first step is to select the branch for which you wish to set up the employee from the pick list at the top left of the Schedule window.
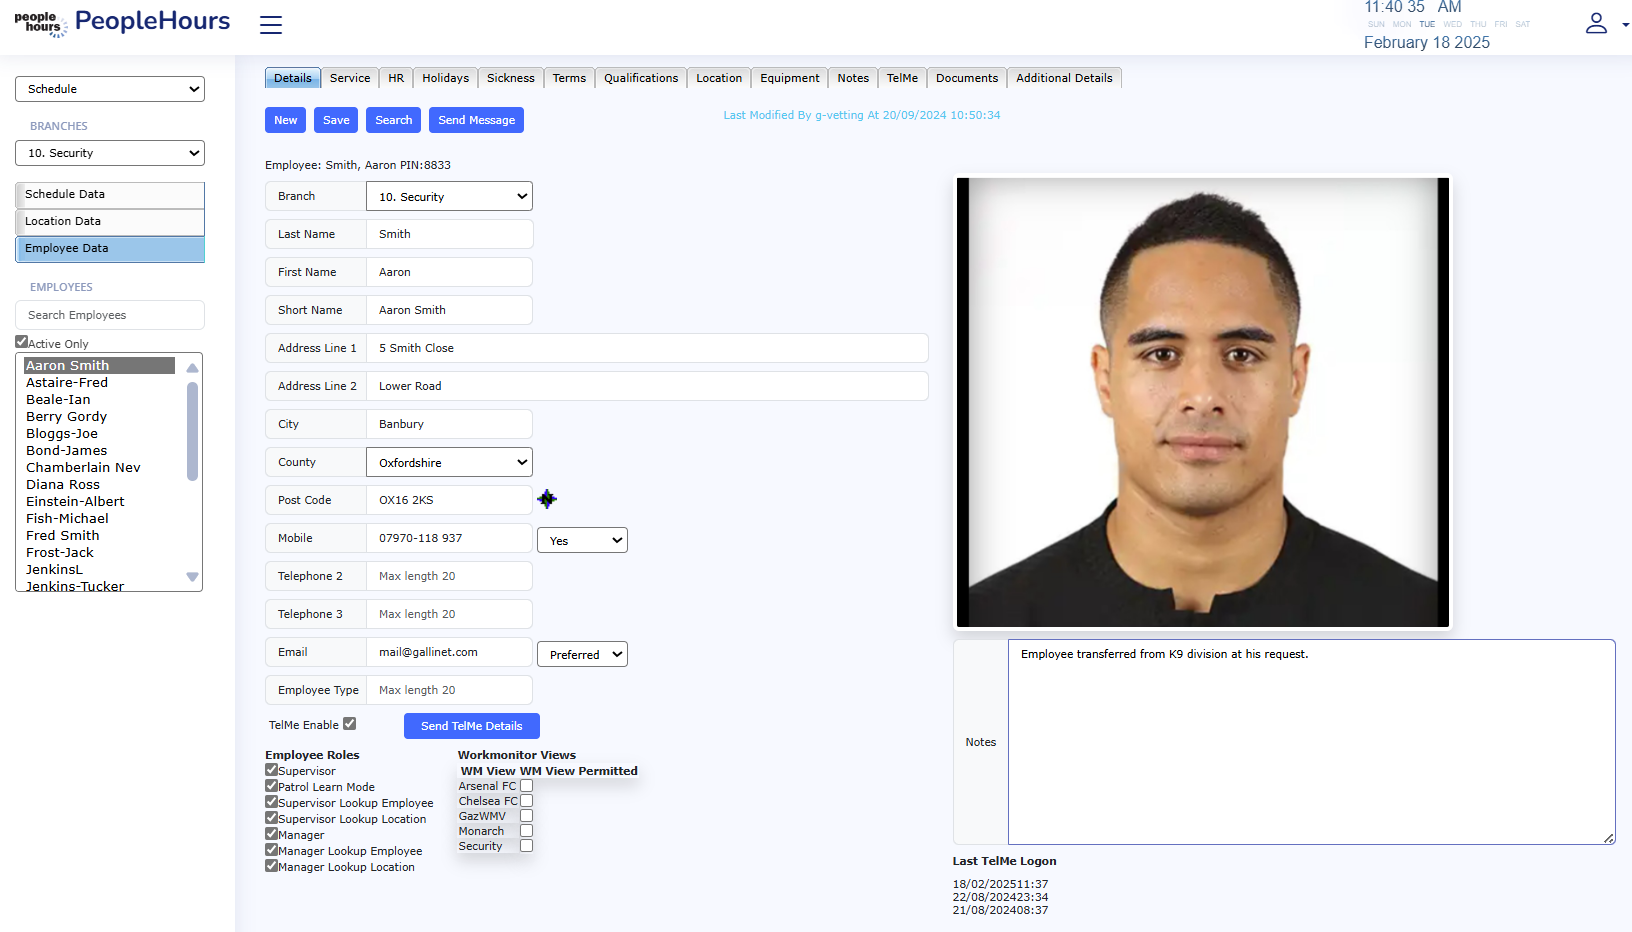
Next select the Employee Data tab on the left of the window, the application will then display the Details window and a list of existing employees on the left of the window, see below.
If you have selected an employee from the list on the left of the window, the details for that employee will be displayed.
If you have not selected an employee, the fields will be blank allowing you to create a new employee.
At the top of the window you will see seven (7) tabs:
used to set up basic employee details. |
|
used to hold additional data for the employee, e.g. Next of Kin |
|
used to set up the employee’s annual holiday information and display the current status |
|
used to set up the employee’s annual sickness entitlement, if any and display the current status |
|
used to attach the employee basic pay terms and conditions and overtime thresholds. The application allows you to set up multiple date related terms for the employee. This allows for changes to be entered in advance. |
|
used to define the qualifications that the employee has gained and the expiry date where relevant. This information is used by the application when scheduling employees against events. |
|
used to define which locations the employee has been trained for, has worked on or has been banned from. This information is used when validating the employee against an event. |
|
Used to record uniform and equipment issued to the employee. |